Many of us want to be able to access our PCs or Laptops from work or any where we are.
The easiest option is to create an account on noip.com and download and install the NOIP DUC and let it run from your pc or laptop and access it anytime.
I know a lot of you think that teamviewer is the best option. Teamviewer is good but it is also a bit slugish and it does not give you the same experience as you want.
A bit of research and I was able to have a setup where I can turn on/off my PC / laptop whenever I want and access it. This helps in keeping the PC / laptop cool and does not go much on electricity.
Here is what you need to get this setup going.
1. PC or Laptop supporting Wake Up on LAN (you need to enable that in your BIOS)
2. Teamviewer account (Web interface is important here)
3. PC or Laptop should be connected to your livebox with a Network Cable Rj-45
4. A NOIP.com account (free for upto 3 hostname).
Here’s how to set it up.
I will not cover the WAKE UP on LAN enabling and noip.com account registration, I am assuming that you have done that.
Step 1.
Teamviewer
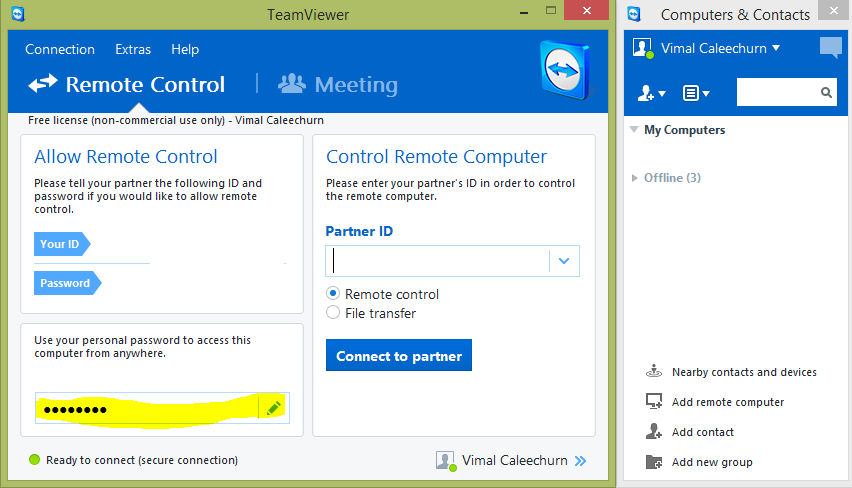
Install and configure TeamViewer and enable remote access to it. Define a password.
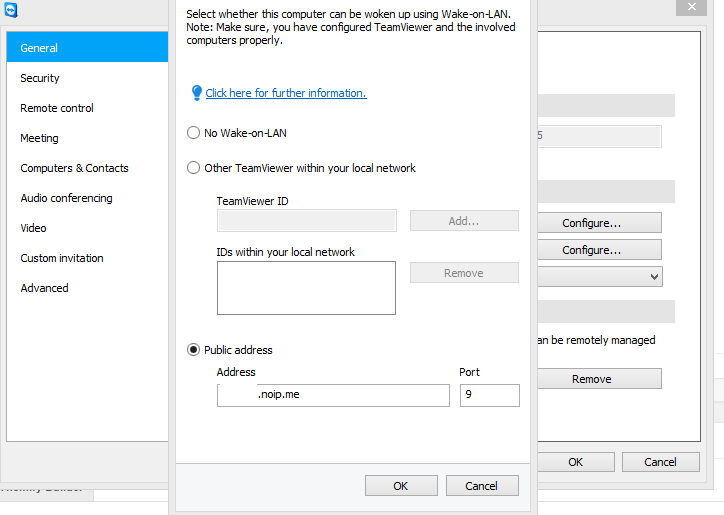
Click on Extras and Click on Option
Click on Wake-On-LAN and Click on Configure
Click on Public Address and enter the host name you created in NOIP.COM. Leave the Port 9 as it is.
Step 2.
Lievbox Configuration
Login into your Livebox normally 192.168.1.1 (hope you changed that :P)
Before you go ahead you need to make sure that you have given your PC / Laptop a fix IP or reserve it in the DHCP Configuration of the livebox.
Go to advanced setting, enter your password.
Click on Network and click on NAT/PAT
Create a new rule with the following settings. Make sure to enter your correct IP for the laptop or PC.
You will notice that I have created a rule for port 9 UDP for Wake Up on LAN and Port 3389 for Remote Desktop from Outside. (To make it more secure change the RDP port or change the port you are coming from outside, here’s how to).

Step 3.
NOIP Configuration
Go to Advance Setting on your Livebox, enter your password.
Click on Network
Click on DynDNS
Select Service, NO-IP
Enter the hostname you created in NOIP.com
Enter your username – Same as your noip.com login
Enter your password – Same as your noip.com login (this should be a plain password, the livebox does not understand special character, serious limitation here, make sure your password is long enough).
Click Add.
Refresh the page and you are good to go. You should see last updated.

You should now be able to check your access, from a smart phone or from another PC outside your network / home, try to connect via RDP to your noip.com hostname and it should work. (Do not forget to enable Remote Desktop on your PC).
Step 4.
Turning on your PC from outside your network.
If you have a software that can send the wake up on LAN command to your PC, that will work fine but if you do not have on, go to www.teamviewer.com click on weblogin and enter your username and password.
You should see your computer there, click on Wake Up and You are good to go.

Enjoy your Remote Access.
Questions do not hesitate to ask.


