Hey Guys,
Being a while since I shared out something here, but let’s catch that up. This tutorial will show you how to configure Direct Access on Windows Server 2012 R2, yes that’s right R2. Nothing much changed but it’s rather cool.
My Setup is as Follows: Direct Access Server has 2 Network Card, One goes to the internet and one for Internal LAN.
The following ports are needed for DirectAccess to work:
Protocol 41
UDP 3544 Inbound and Outbound
TCP 443 Inbound and Outbound
This is running on my Windows Server 2012 R2 Hyper-V host! (Will get to this one later).
Here we Go!!
Go On and Add / Remove Role
Select Remote Access
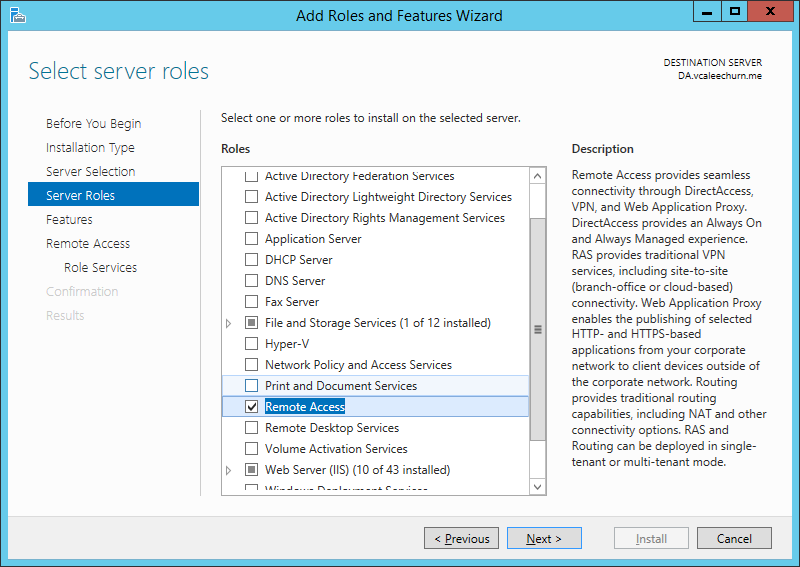
Click Next
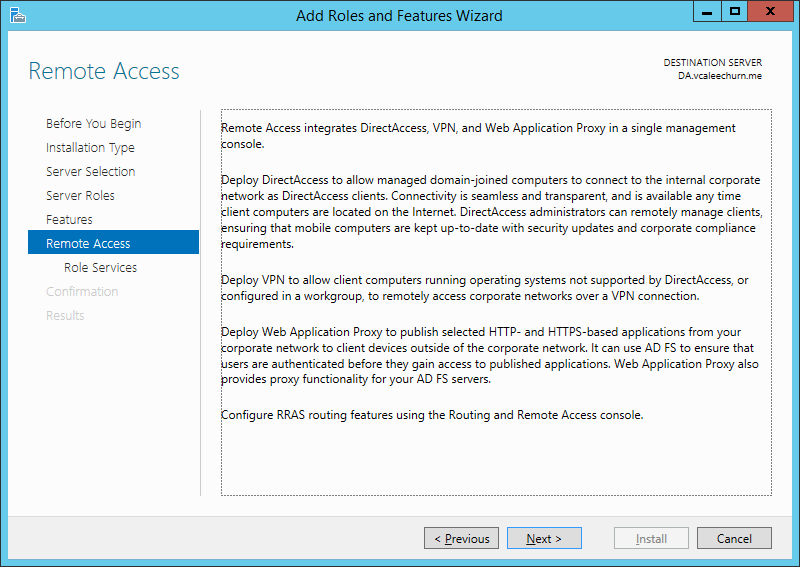
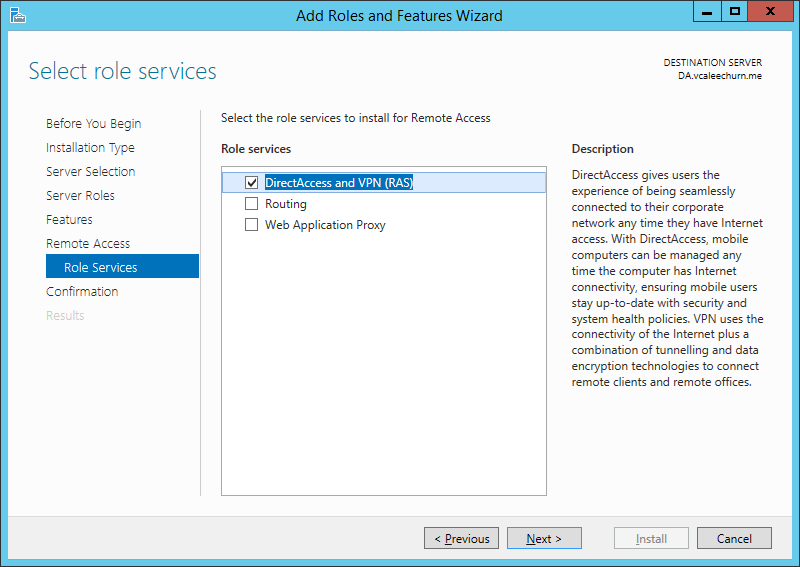
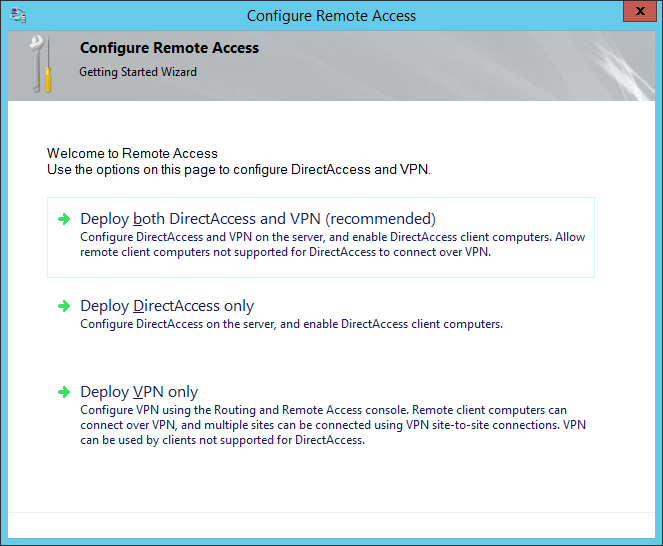
Select DirectAccess and VPN (RAS)
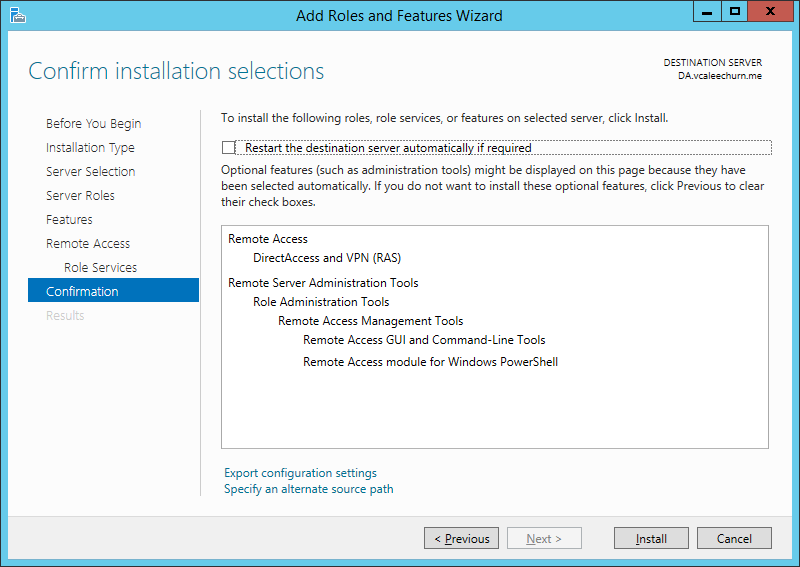
Click on Install
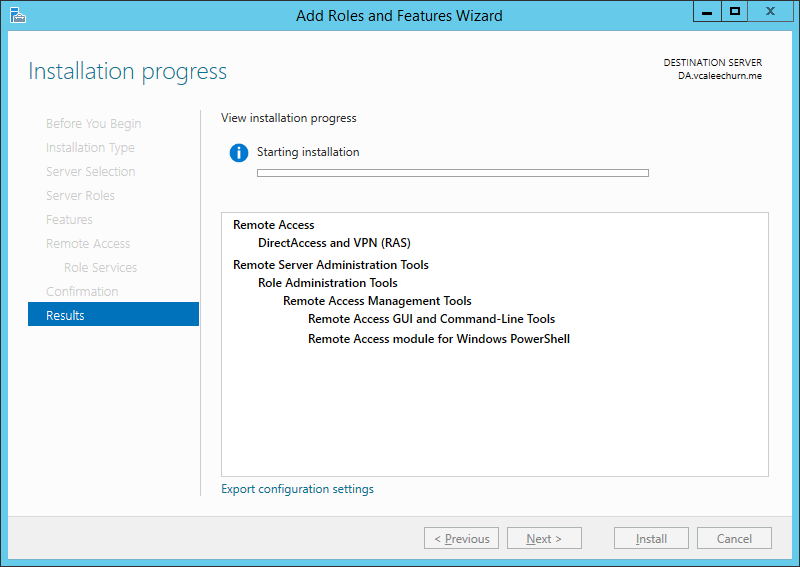
Watch the Install Process, Should be real quick! (Did I mention R2 is awesome 😉 )
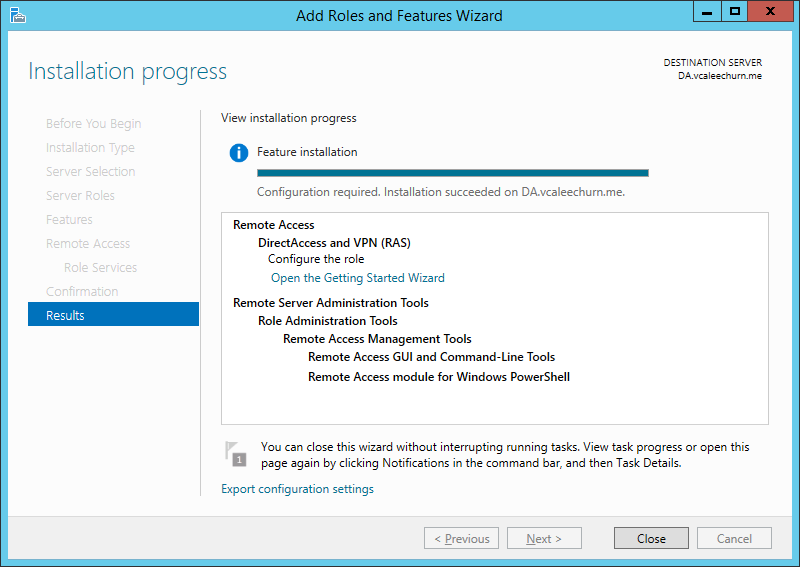
Once Finished, Click on Open the Getting Started Wizard
Click on Deploy Direct Access Only
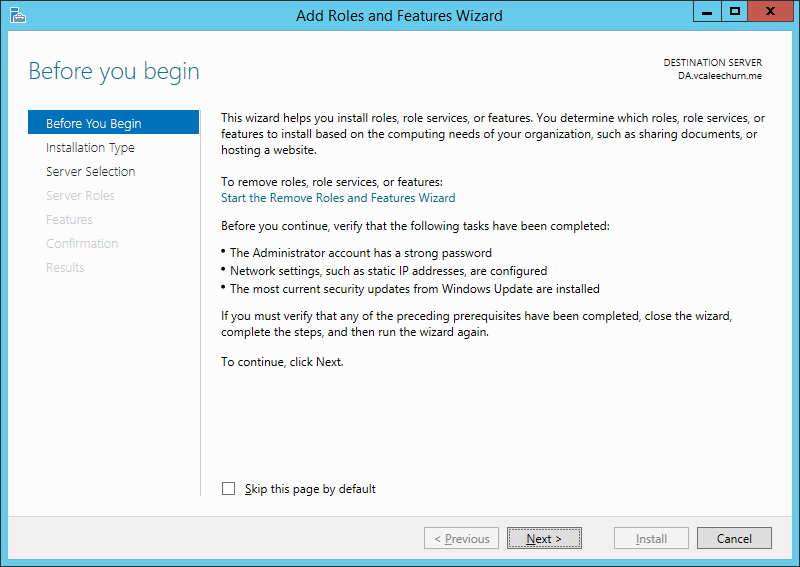
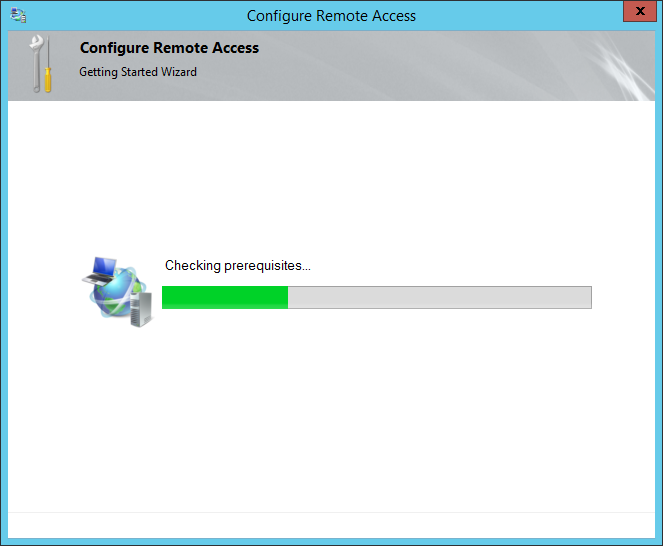
Wizard Checks a Few Things before starting..
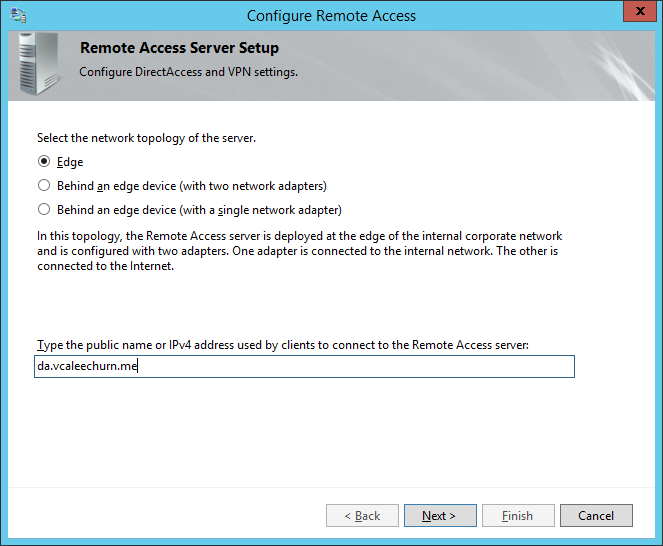
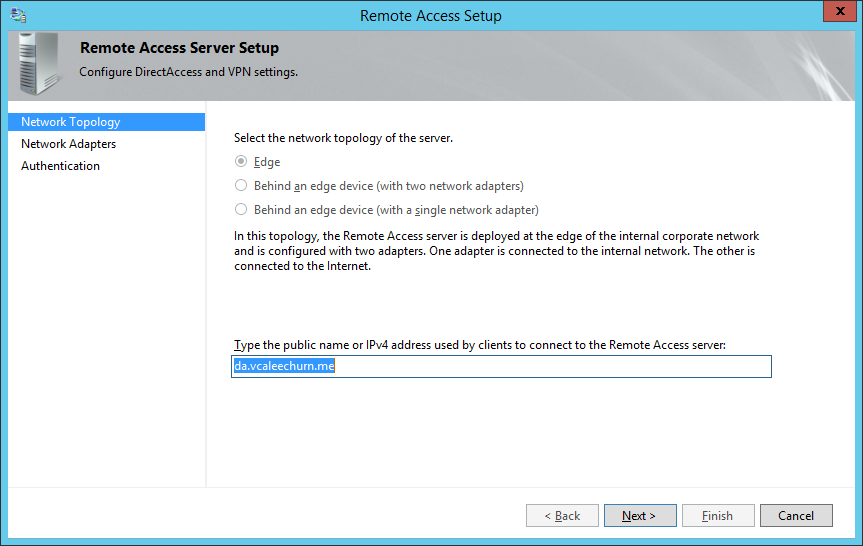
As mentioned my DA Server is on Edge with 2 NICs (technically it’s behind TMG, but I have a few exceptions myself)
Input the Public name or IPv4 address.
Click Finish, we will configure the rest in a bit..
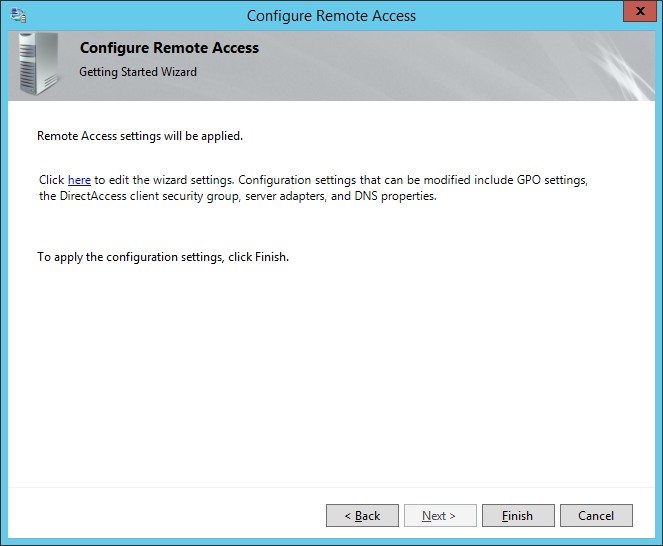
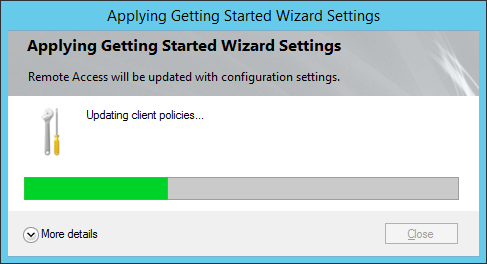
It updates and creates configurations as well as 2 Group Policy, namely; DirectAccess Client Settings and DirectAcess Server Settings
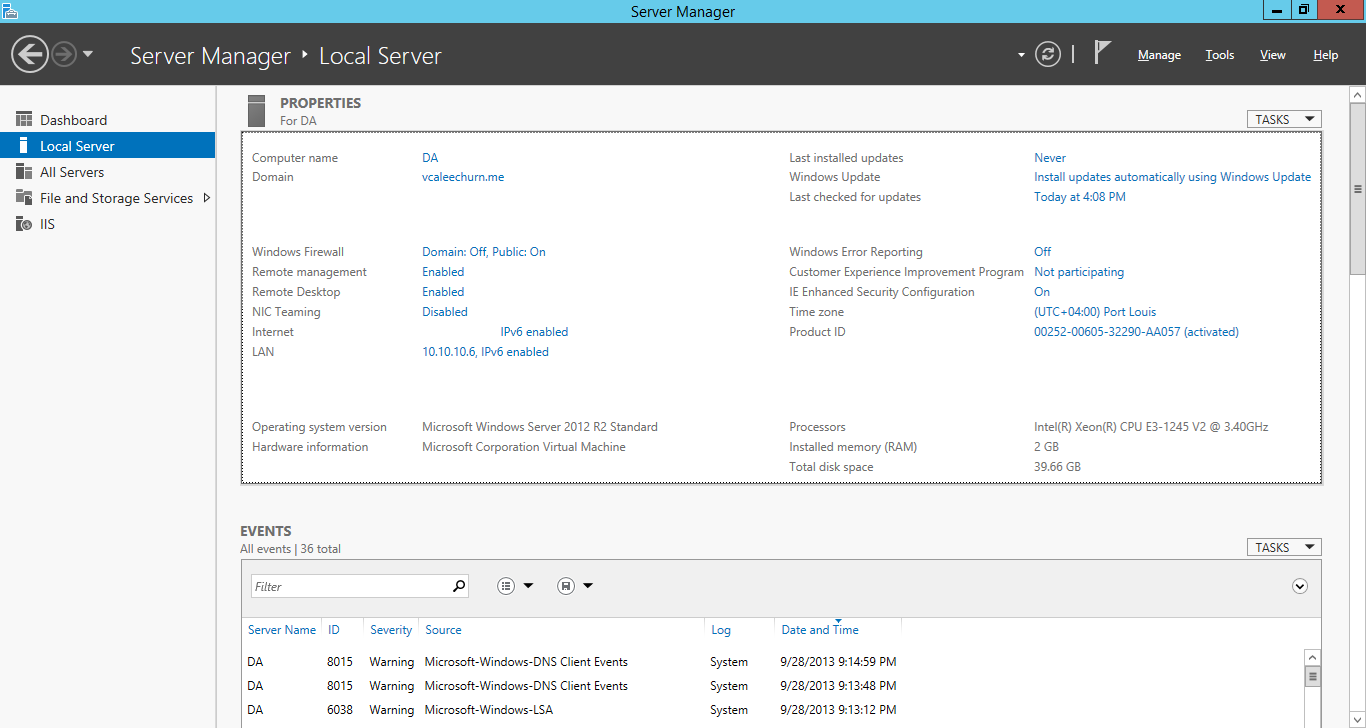
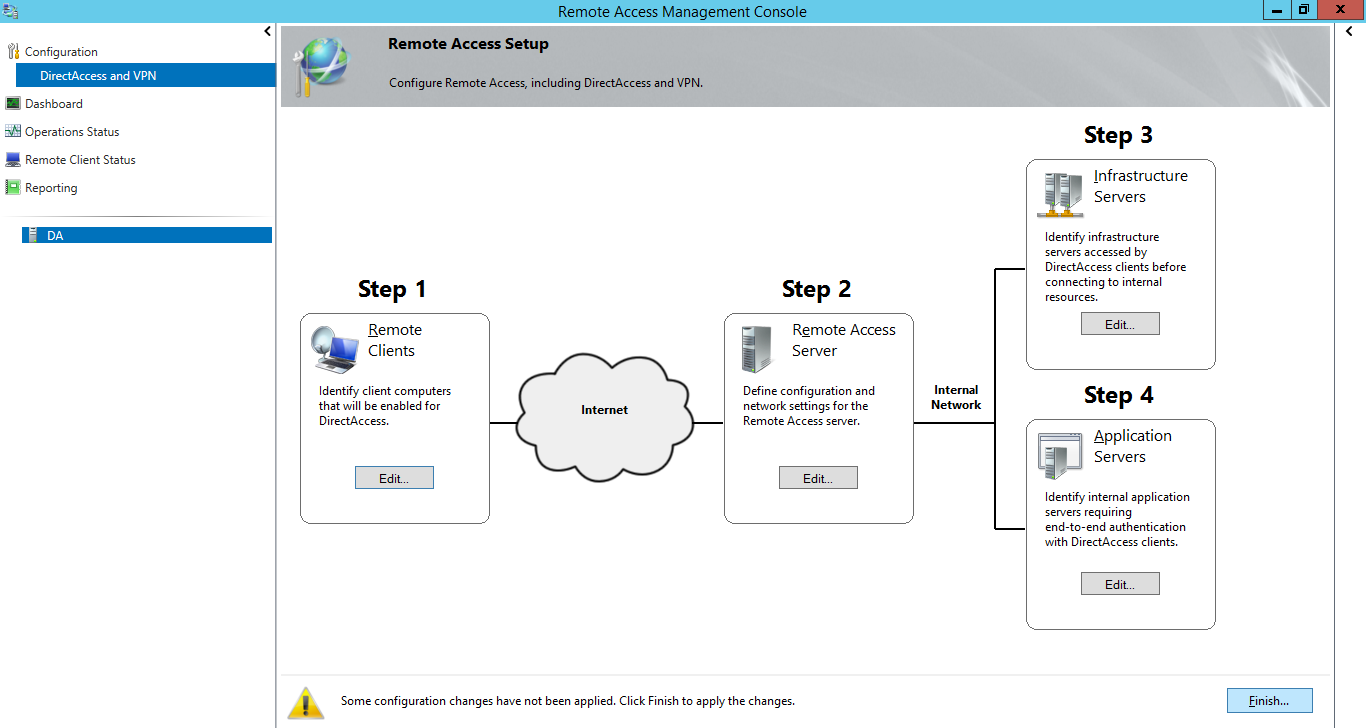
Here’s the Dashboard after it has finished configuration and deployment.
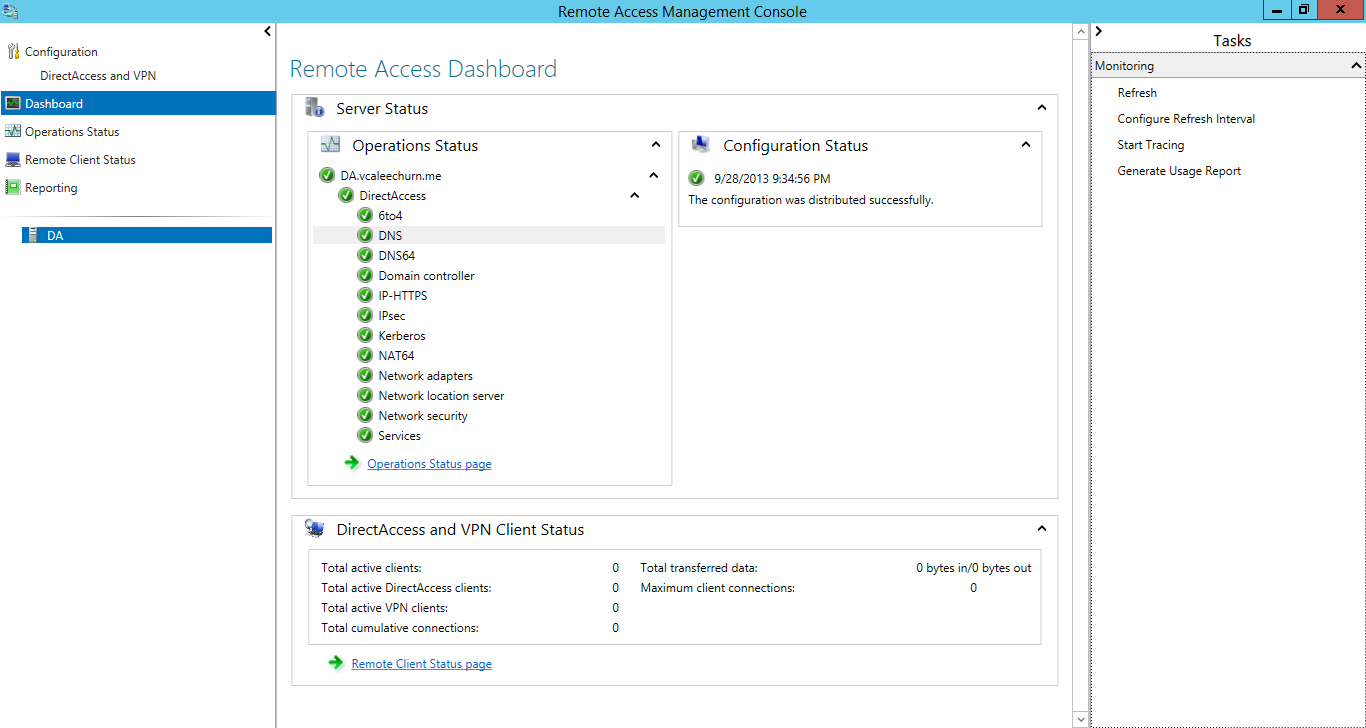
Click on DirectAccess and VPN. As you can see here, there are several possibilities here.
Step 1: Allowing Client Access, Which Groups and For whom as well as the DA Connection Name.
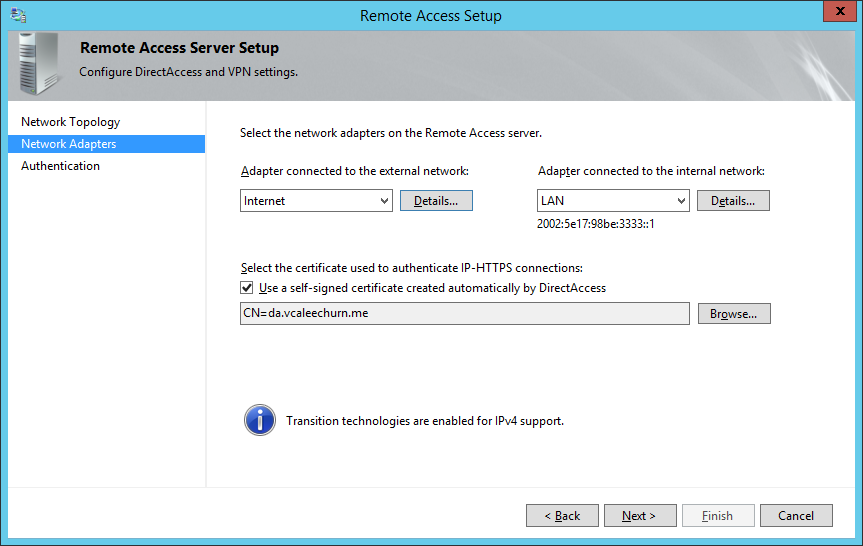
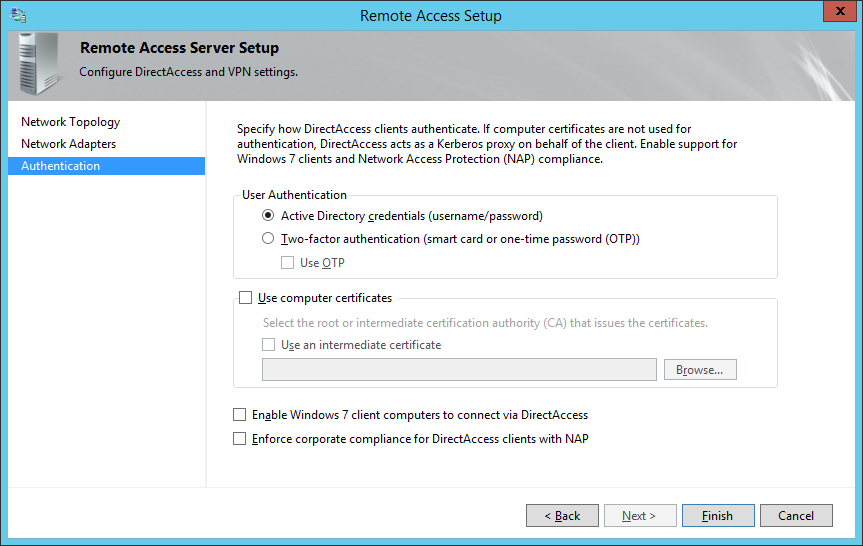
Step 2: Is where you select Network Cards and also certificate, and authentication type. (You will see it below)
Step 3: Is a bit like NAP, i.e where you say where your remediation servers are
Step 4: End to End Application
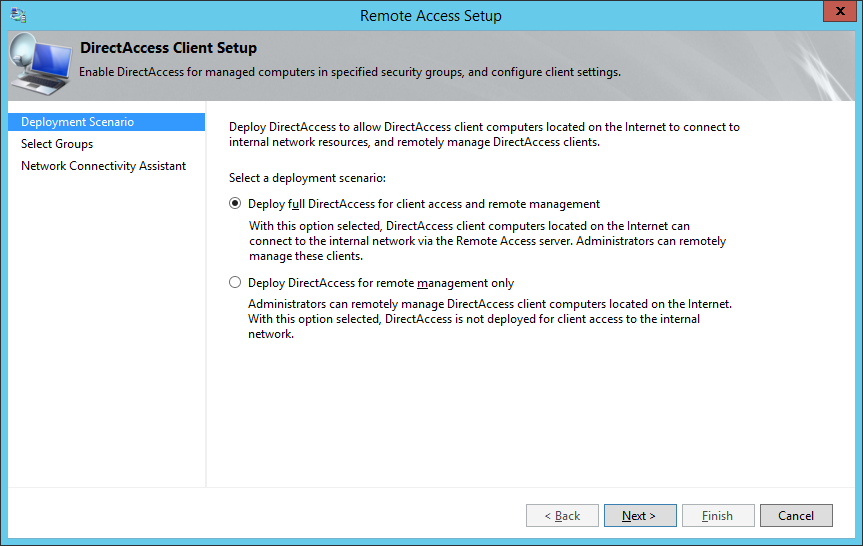
Click Edit on Step 1.

Here we will select DA for Client and Remote Management.
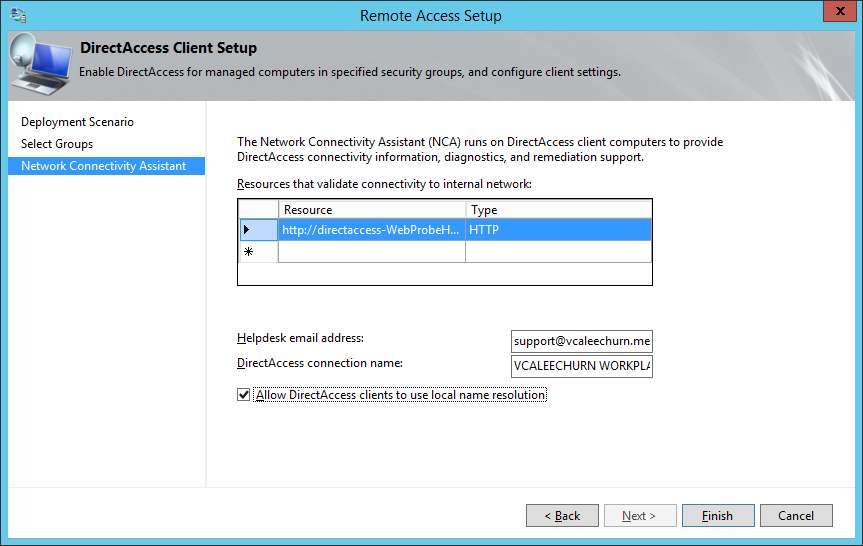
Here enter a support email and the DA Connection name and allow DA Clients to use Local Name Resolution.
Click Finish.
Here is what Pop’s up and it will go edit the GPO. Isn’t that Super Cool !!
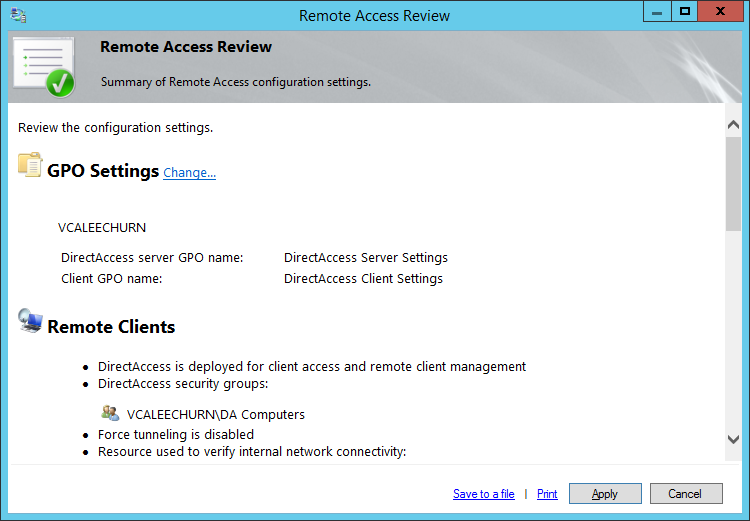
Now next step before we check if our clients can connect, we must make sure that we run a gpupdate against the client and make sure they pull the policies.
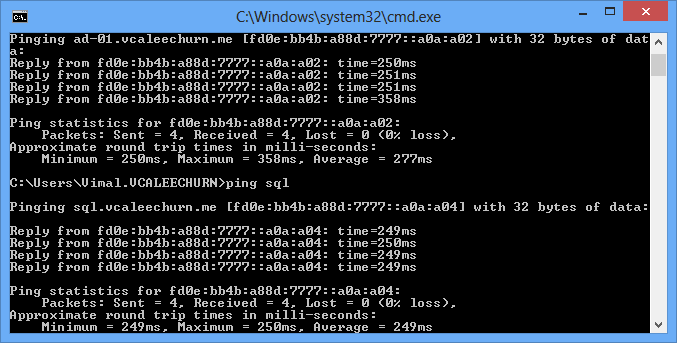
As you can see in the Picture below, which is basically a VM at my house, with an internet connection and the DA Policy. (I have a VPN connection to the server so that it pulls the update, and the vm is joined to the domain).
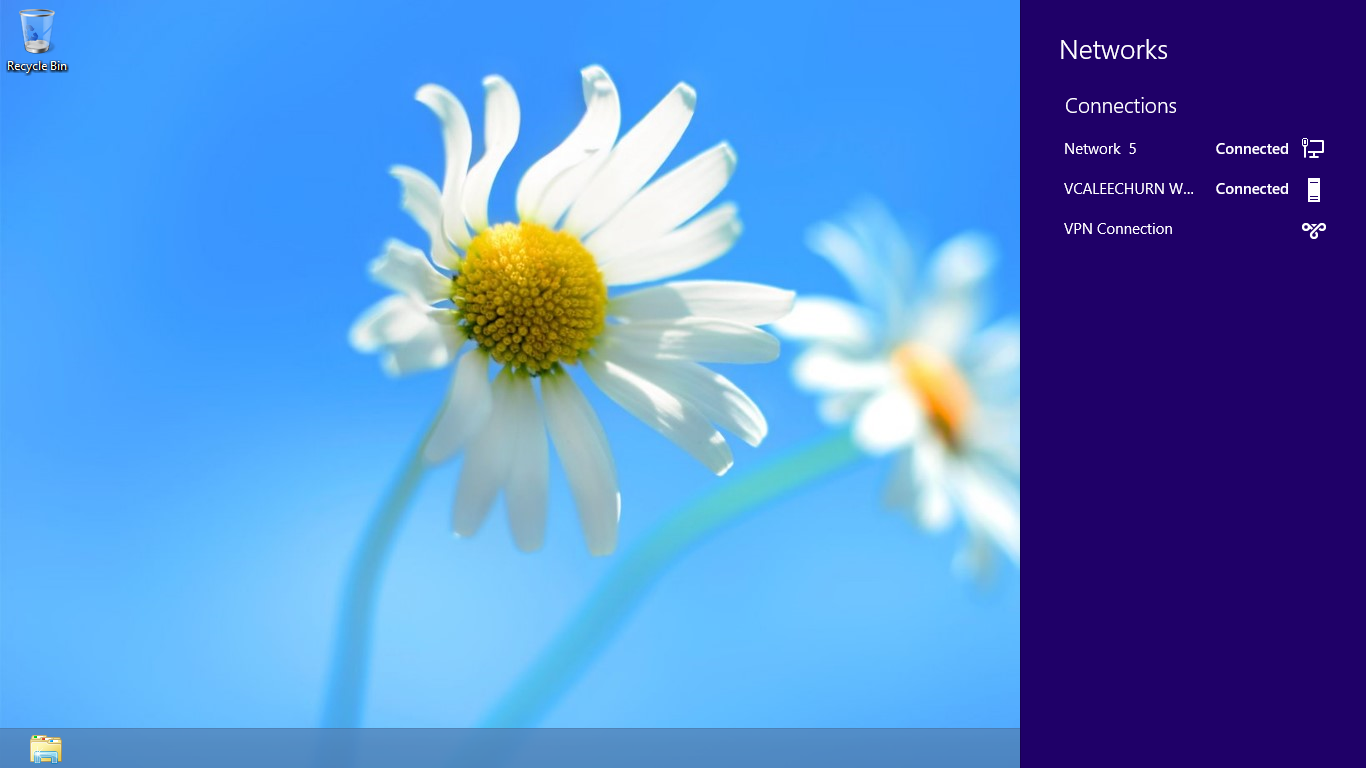
So there, it says connected!.
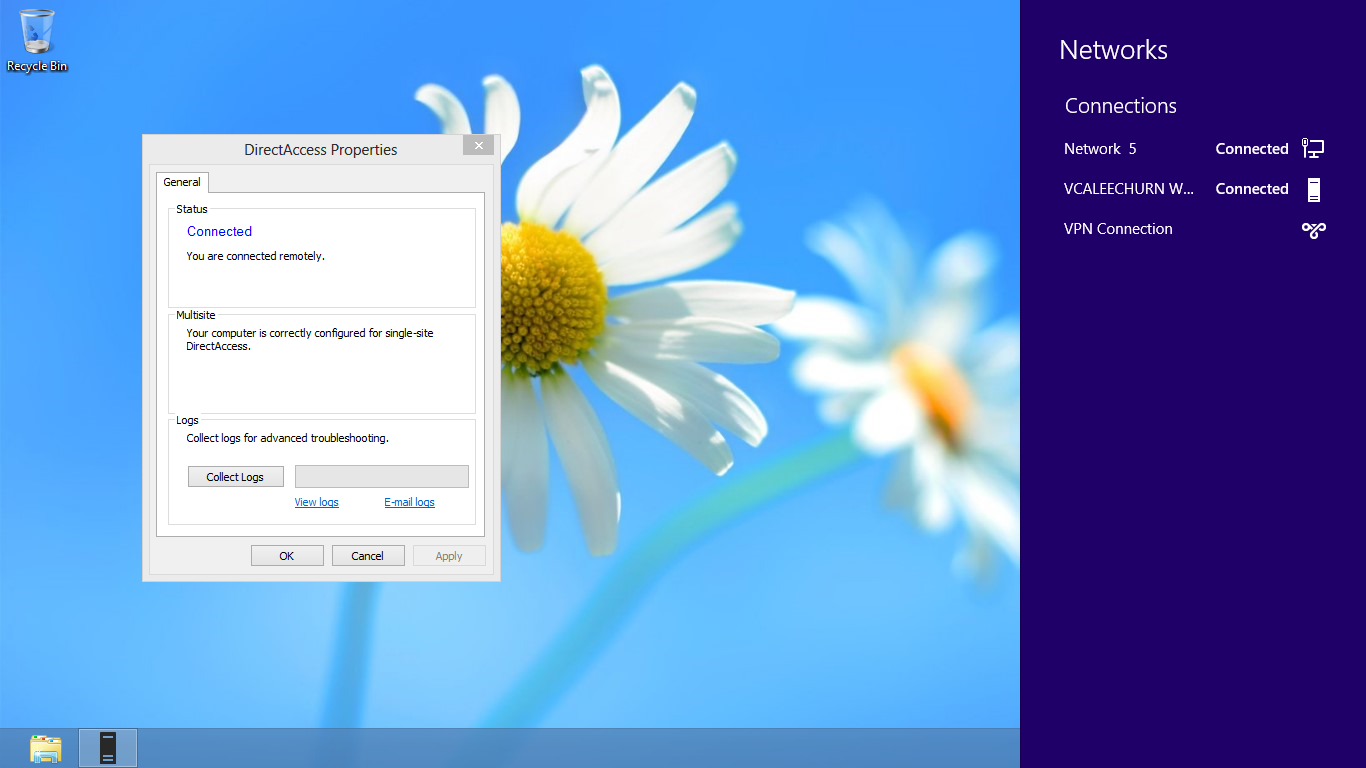
Remember, access your resources by name or IPv6, that makes life easier.
That’s it!! You have DA working 🙂
Coming back to my DA Server config, here’s what it looks like.
The 2 NIC, one Internet and 1 LAN (IPV6) and the certificate.
That’s the authentication 🙂
Watch Out for my upcoming post on DirectAccess Troubleshooting 🙂
Keep Well


Great post. Thanks so much for taking the time to write .
Hi,
this is simply brilliant post to configure DA